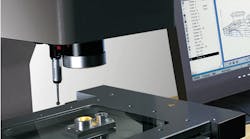
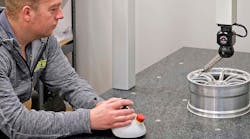
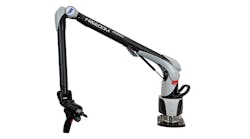
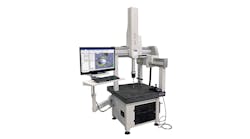
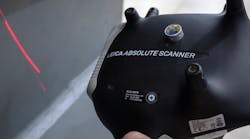
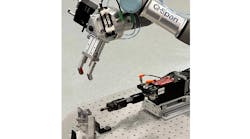
Heidenhain released a new version of its PC-based Quadra-Chek metrology software it claims will allow advanced functionality for inspection measurement machines. It said the new program makes it convenient to perform 2-D and 3-D measuring when standard digital read-out (DRO) products will not suffice.
Heidenhain Corp. is the North American subsidiary of Dr. Johannes Heidenhain GmbH, a manufacturer of precision measurement and control equipment. It supplies linear scales, rotary and angular encoders, digital readouts, digital length gages, CNC controls, and machine inspection equipment, as well as metrology programming.
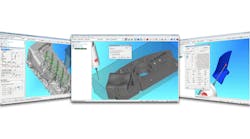
Labeled the IK5000 version 2.96.2, the new inspection package builds upon the original Metronics Quadra-Chek QC5000 software by introducing new functionality, like 3D Profiling capabilities, that provide measurement and graphic evaluation of 3-D contours using multi-sensor and tactile measuring machines. This new option for profile measurements is able to import a 3D CAD file (either STEP or IGES) and compare it with the actual measured part.
This version of Quadra-Chek supports new Auto Focus functionality to allow for the desired search distance to be entered directly into the search distance field. Previously the algorithm used the Teach function to determine the optimal search distance and Z axis velocity, depending on the camera frame rate. This approach was liable to cause intermittent failures depending on the part surface and if it was significantly different from the surface used during the Teach process.
Part Programming improvements were added to support compensation for the thermal behavior of products that experience a shrinkage or growth of material during manufacturing. This will allow users to write a single inspection program for measuring parts with materials having a known growth or shrink rate throughout the manufacturing process.
Also, improvements were added to currently existing Radial and Palletize methods of automatic part programming routines. These methods are designed to help users when there are common features or parts that repeat angularly, around a datum, or based on a palletized grid layout. On Video-Based Inspection machines, these improvements will retain specific video tool sizes and the positions needed for these measurements, and then repeat them based on the angle they are located around the datum or in reference to a linear layout. The new Palletize grid functionality will also allow the user to graphically select which parts in the grid are required for measurement, and only run the program in those locations.
The IK5000 version 2.96.2 also offers compatibility for PCs using Windows 7 (32bit) operating systems as well as Windows XP and Vista.
