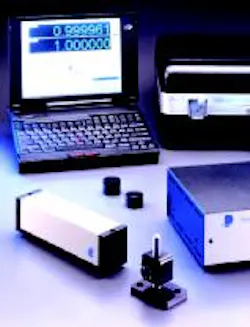
Laser measures errors
The MCV 500 laser-calibration system now measures 18 possible errors, including six angular, three displacement, six straightness, and three squareness. Setup is quick because only two components need aligning — the laser-head assembly and the retroreflector. The machine provides a 160-in./sec running speed, which the company claims is 4 the speed of a conventional interferometer system. Also, the laser head is 10 smaller than a laser interferometer system. It has a stability check better than 0.1 ppm, 1-ppm accuracy, and resolution to 0.000001 in.
Optodyne Inc.
Compton, Calif.
optodyne.com
